Using Placekey to Deal with Multiple Points of Interest at a Single Address
Summary
Reading time: 4 minutes.
One challenge when mapping point-of-interest data is how to numerically represent multiple points-of-interest located at a single address. The most common example of this is a shopping mall where you have dozens of stores located within the boundary of the mall. While researchers and location professionals have been perplexed as to how to best solve this problem, Placekey simplifies the challenge by creating a fixed Placekey for each location name at an address.
This Placekey is fixed, making it possible for historical analysis of the same geographical location through time.
This tutorial shows the advantage of using Placekey when dealing with points of interest at a single address.
Suppose you are researching retail locations within a shopping mall.
Each retail shop resides within the broader retail area.
In this case, there are multiple points of interest (POIs) within the shopping mall.
Placekey makes this process simple. Here’s how.
Getting Started
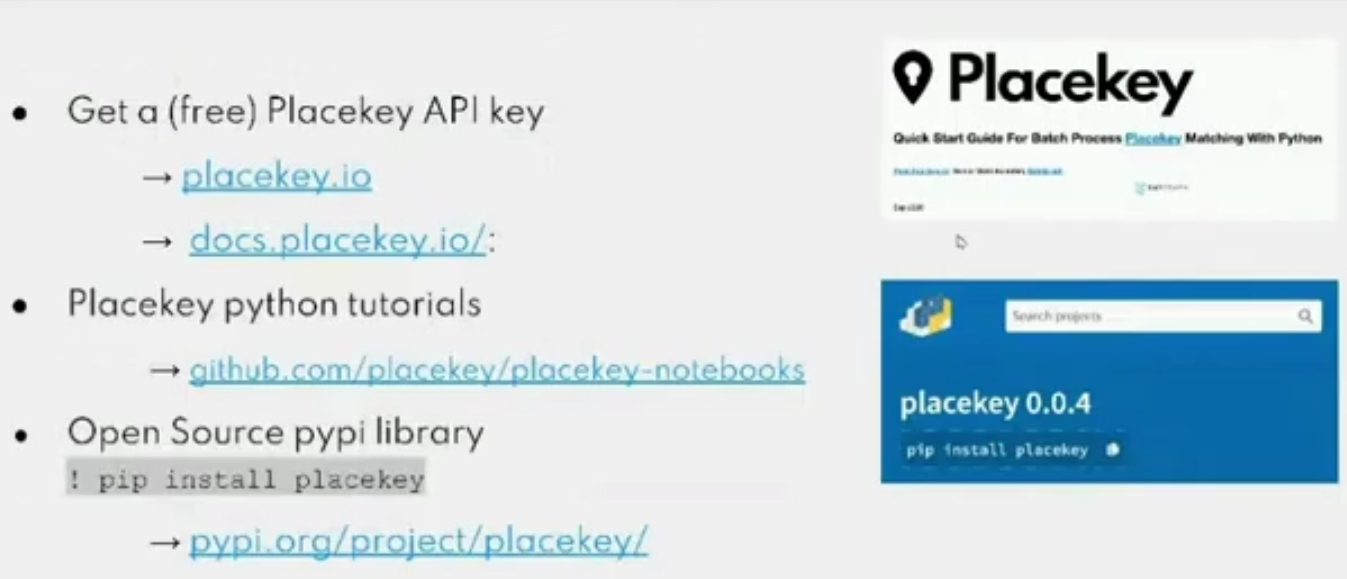
Before you start this tutorial, you need to create a Placekey account by signing up at https://www.placekey.io/.
Here we will walk through the process in Google Sheets.
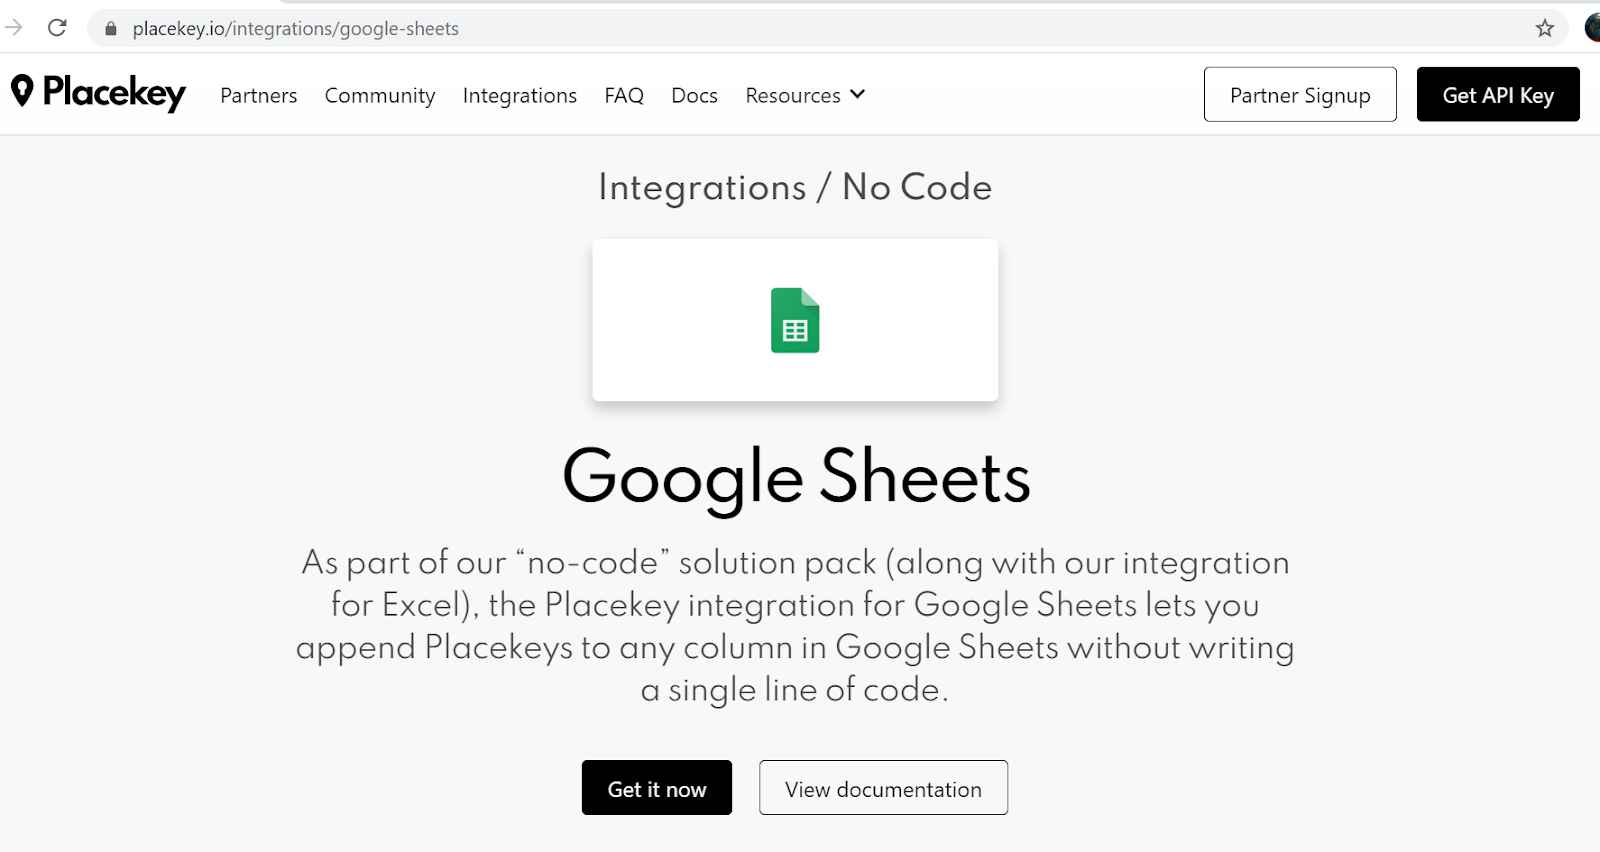
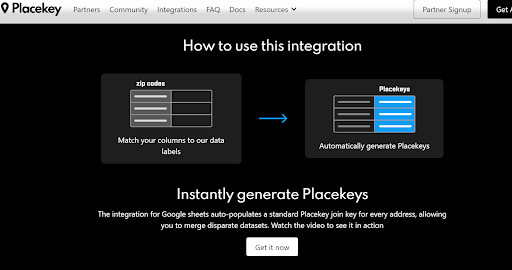
The first step is to install the Google Sheets Placekey Add-in. It is available here.
To install the Add-in, click on the white “Get it now” button at the bottom of the Placekey link and follow the instructions.
Once the Add-in is installed, it will show up within the “Add-ons” tab in Google Sheets.
From here, the next step is to put your data into a Google Sheet.
Below is an example of three retail locations within the City Creek Shopping Center in downtown Salt Lake City.
Notice how each location has the same address and when I geocoded the address, each location was given the same latitude and longitude. Ugh, now what. How would I distinguish between the three locations?
That’s the magic of Placekey. Placekey assigns a unique Placekey ID to each location name, even if the locations are at a single address. This Placekey follows the location from data set to data set.
To do this, click on Add-ons->Placekey - Address Matching and Entity Resolution.
On the right side of the screen will appear the Placekey Add-in.
From here, enter the column titles corresponding to the Placekey field. In this case, I had:
Street Address (my column was titled “Address”)
City (City)
Region (State)
Postal Code (Zip)
Location Name (Location)
Latitude (Latitude)
Longitude (Longitude)
Placekey does not require that all fields be filled-in.
After filling-in the information you have, click the black button “Generate Placekeys”.
Placekey will automatically add a column at the far right of your data set with the matched Placekey.
Viola! From here, you have an identifier that follows the location through data sets. It’s a cutting edge geography tool that makes everyone’s life easier.